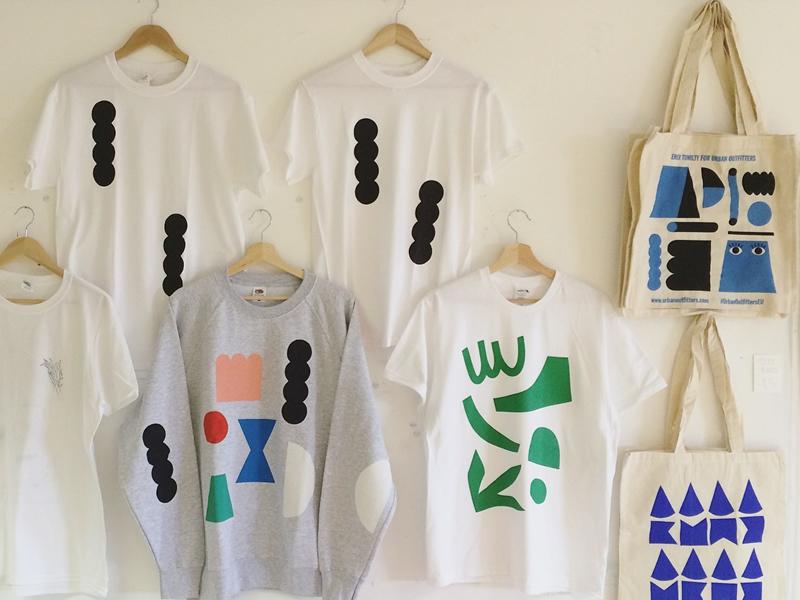
Think you might want to print your own t shirt at home? You will have two methods for DIY t shirt printing at home to choose from: screen printing and iron-on transfer. Read on to learn about screen printing to print your own t shirt or other items. Tote bags and sweatshirts can work well too.
Screen Printing to Print Your Own T Shirt
Screen printing is a very old printing technique, but to meet DIY demands, we’ll be describing a simpler, modern version. It is called Photo Emulsion Screen Printing.
Step by Step Guide
Choose the design
Choose a simple, one colour design, and print out a simple black and white image of it. This makes a sharp image on the screen for an accurate print.
Your original image doesn’t have to be black and white. You can use Microsoft Word, Photoshop, or another program with image editing capabilities to make it suitable.
Print the image on a transparent sheet
- The image must be applied to a transparent sheet so only the design transfers onto the screen.
- You can use acetate paper made for screen printing or pick up some clear transparency sheets from an office supply store.
Transfer to printing screen
- Purchase a single screen printing kit, or the materials that would come in the kit.
- Put on gloves.
- Place the screen somewhere you don’t mind being damaged or put down a garbage bag to do the work on.
- Paint both sides of the screen with photo emulsion, using a squeegee to apply a thin, even layer on the entire surface. Cover the screen with enough emulsion that you can’t see through the screen.
Burning the screen
- Leave the screen in a dark, cool space for several hours to allow it to dry.
- Gather the items for the next step while you wait. You should have these or a replacement for them in a full kit, if you purchased one.
- You will need cardboard or something else flat that you don’t care about, a black cloth or rubbish bag, the transparency image, and a sheet of glass, Lucite, or Plexiglas.
- Create a “sandwich” of these items, cardboard on the bottom, black fabric, screen, transparency, and then glass.
- Position a bright light over the screen. This can be direct sunlight outside around noon, a 150-watt incandescent bulb, or a photo flood bulb. If you purchased a kit, it may have included a perfect light.
The timing of the exposure is crucial. Too little exposure might allow the stencil you are making to wash off the screen while too much exposure may burn the entire paper into the screen. It can take anywhere from 2 to 90 minutes depending on the intensity of the light. Direct noon sun can burn the design correctly in anywhere from 2 to 6 minutes. You can judge when the design has burned into the screen effectively when the emulsion has gone from green to a dull, dark grey.
Wash the screen
- Remove the glass and transparency from the screen and wash the screen with an outdoor hose or at a sink, whichever is closer.
- Apply a strong stream of cool water for a few minutes. Everything should wash away except for the stencil you have made of your design.
- If your first attempt fails, either because your design washes away or some unwanted residue has been burned in, you can use emulsion remover to clean the screen and start over.
Testing
Perform your first run on an old shirt or piece of fabric to practice on something you don’t care about before you try to print your own t shirt.
Printing!
- Place cardboard or something else non-porous inside the shirt to ensure your ink stays on the front of the shirt.
- Then add a little screen printing ink on top of the screen and spread it down the screen with a squeegee to form a thin layer. Do this several times to ensure your design is crisp and even.
- Lift the screen from the t shirt without dragging it on the shirt.
Heat it
Unless the ink in your screen printing kit says otherwise, you will need to iron the design into the shirt on a hot, dry setting to make it permanent and washable. Some inks can achieve the same effect with some time in the sunlight.
Congratulations!
Your t shirt is ready to wear, and you can use this screen to easily create many shirts and other items with this same design as often as you could want to print your own t shirt.
Bonus
You could feasibly take a more complex design with multiple colours and break down each colour into its own screen like a professional would, but it will make the process much more difficult for a newcomer. If you try to print your own t shirt with a multiple colour design, prepare to ruin several shirts before you get one right.
Pros and Cons of Screen Printing to Print Your Own T Shirt at Home
Pros:
- You can reuse the screen as many times as you like.
- It makes you feel more creative when you print your own t shirt.
- Screen printed designs last longer than ones that have been ironed on.
Cons:
- Screen printing is more complicated for initial or one-time use.
- You have to use chemicals, and some people like to avoid chemicals when possible.